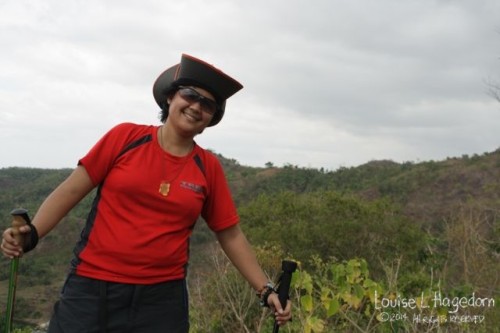
Mt. Manalmon with AMCI Mountaineering Group
Mt. Manalmon is located in San Miguel, Bulacan, and is part of Biak-na-Bato National Park. It is an 80 kilometer drive from the entrance of the North Express Tollway (NLEX). Your drive may be further or nearer, depending on where you start. As we started from Manila, our drive was to the site was about 92 kilometers. Since traffic conditions will determine how long it will take you to get out of Manila, it is best to leave the city before 6am.
The last portion of the road is compacted earth with some irregularly shaped rocks and gravel. An SUV will have a much easier time on the road than a car or van. At the entrance of Mt. Manalmon, there is a station where you pay to allow your vehicle to enter. The entry fee for our car was PHP20.00 (approximately USD 0.50).
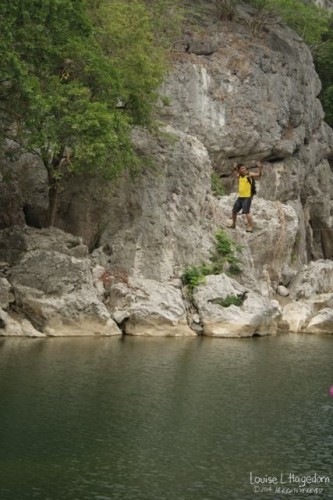
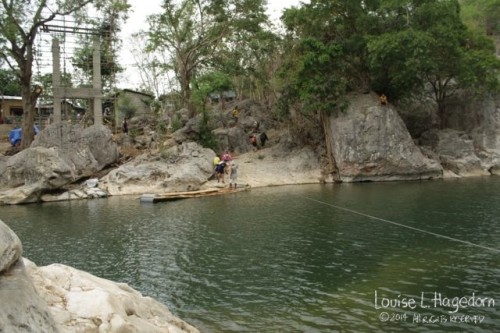
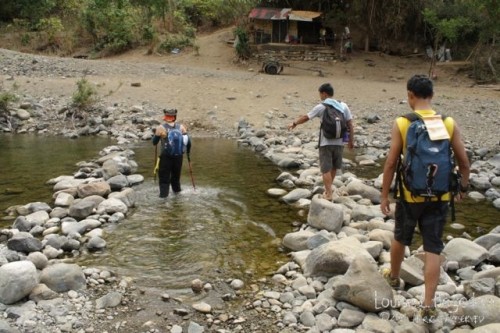
Once you’ve parked your vehicle, the first part of the trek begins with a choice. You can take the balsa, a bamboo raft that is pulled along with a guide wire for PHP5.00 (approximately USD 0.10) per person per trip. So set aside PHP10.00 (approximately USD 0.20) for the round trip. If you are more adventurous, you can take the monkey bridge for free. It’s basically two wires strung across the river. There is no safety rope to attach you to the wires. It’s at your own risk. The water is deep enough to catch you with minimal injury if you fall. Some of the group went up the monkey bridge, but the rest of us went by balsa. No one fell into the river at the time we crossed. At the time of our visit, there was construction ongoing at the site for a bridge that will make the traverse easier.

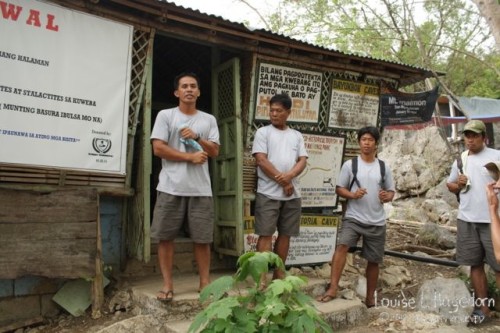
Once you cross to the other side, you register at the DENR station. Site registration fee is PHP5.00 (approximately USD 0.10) per person. Guides are required, with a maximum of 5 persons per guide. We spent about PHP450.00 for the guide to take us to Mt. Manalmon. If you are planning to also take the trail up to Mt. Gola, it will be an additional fee. The guide fee is per mountain. There are approximately 40 guides and are from the nearby barangay who supplement their income by being guides. Each guide has a schedule and can expect to take groups up the mountain 3-4 times a month. The trek starts with a short talk from the guides in Filipino.
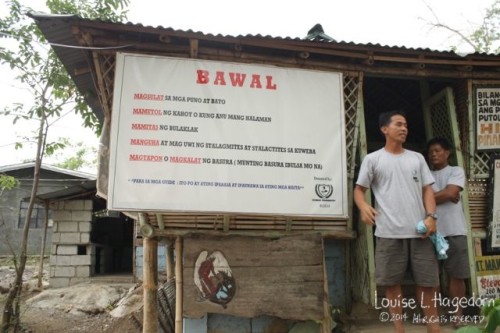
DO NOT:
• write on the trees or stones
• cut trees or other plants
• pick flowers
• take and bring home stalagmites and stalactites
• throw litter (put small trash in your pocket)
••For the Guides: Read and explain to visitors so they understand••
Immediately after the DENR station is a semi-cemented walk to Madlum cave. This cave his where Emilio Aguinaldo and his men would run to hide from the Spaniards during the last Philippine Revolution against Spain.
The crosses on the side of the path are markers for Stations of the Cross.
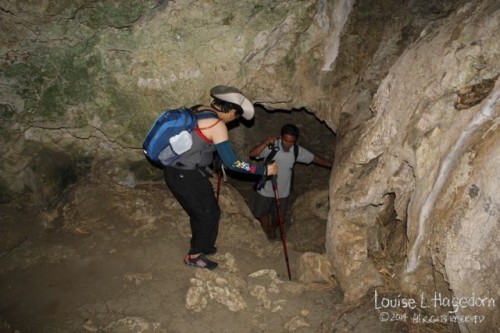
After the cemented path is the entrance to Madlum Cave.
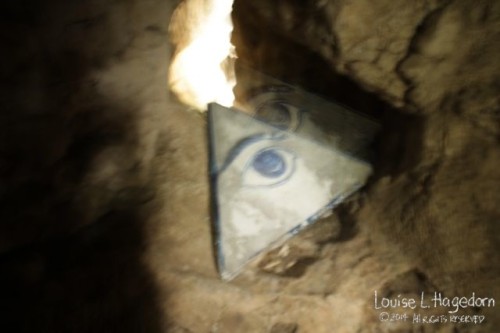
The area is called San Miguel for the statue that was discovered in this cave. The original relic is in the Vatican. There’s a replica that is in the cave now, but my camera didn’t take a good enough shot to post. It means I should come back to take a proper picture. You pass the cave to the other side.
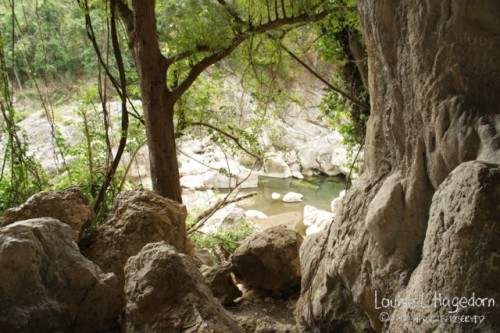
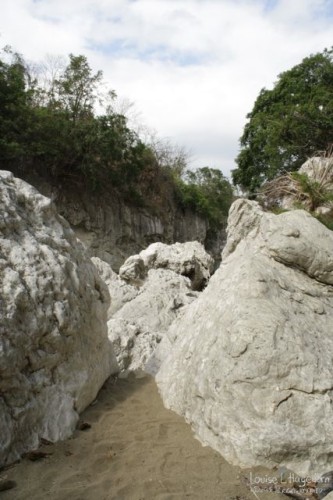
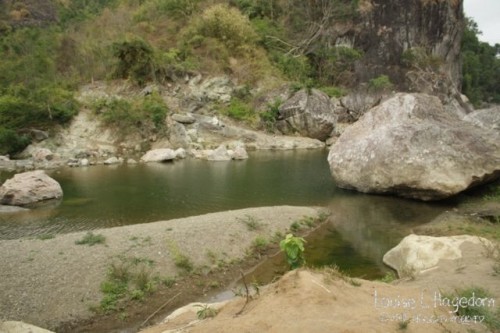
After the cave, you work your way down to the riverside.
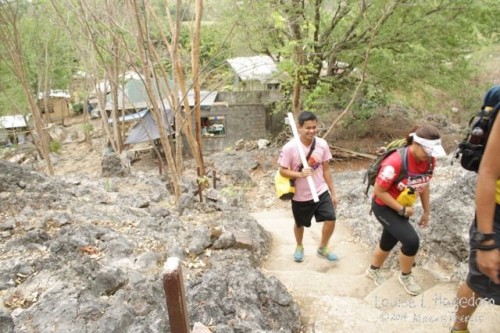
You follow the river by going left, then you’ll come across a path. This is the last store you’ll pass. So if you need some last minute snacks, this is the only place to buy them. If you need more booze, you should have bought them near the DENR station.
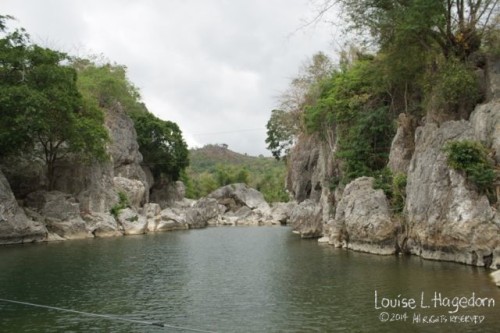
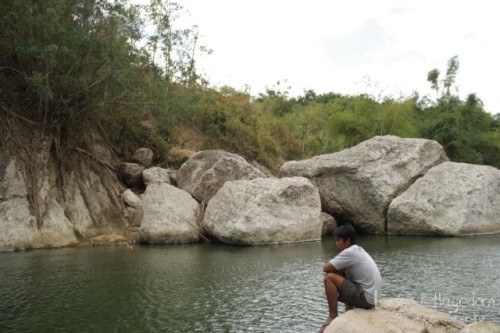
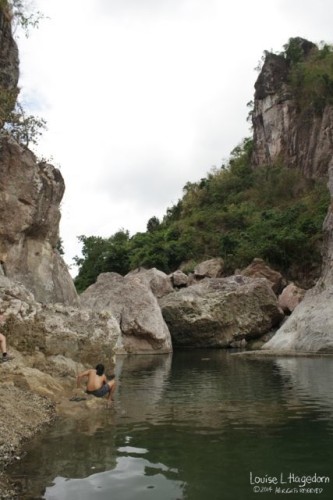
You continue on the trail, as it follows the river.

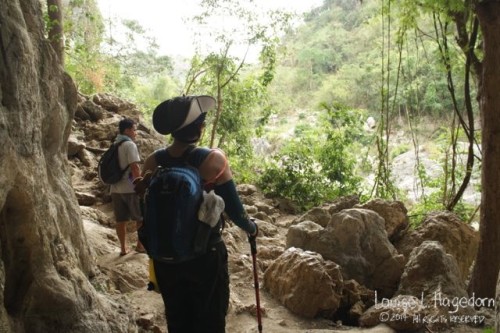
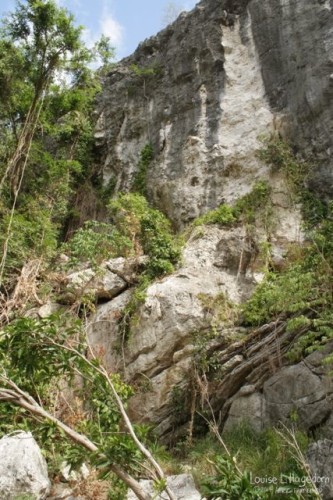
This is where the trail can lead you to different places, and why you definitely need a guide. The trail will diverge to follow the river, or go up to Mt. Manalmon. We choose to take Mt. Manalmon first.
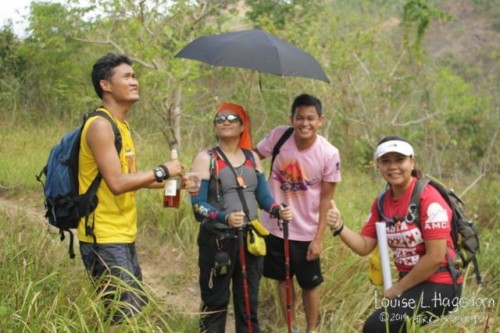
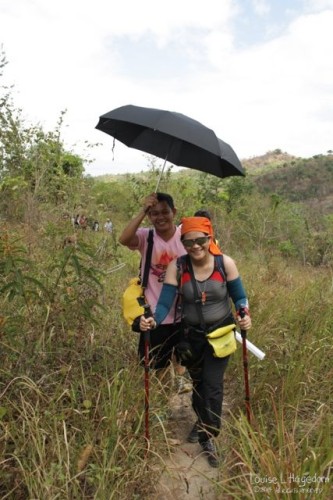
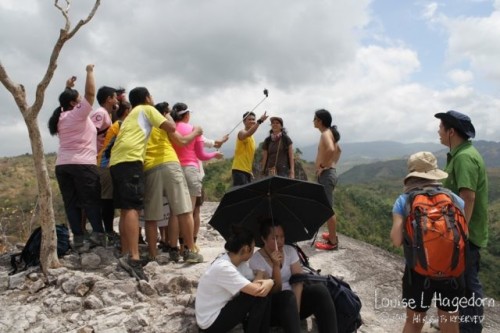
Apparently in mountaineering speak, a fun climb means you can horse around. Toti brought out an umbrella because Reggie had remarked that it was too hot. Even while having fun, they always remember to pick up any trash they make.

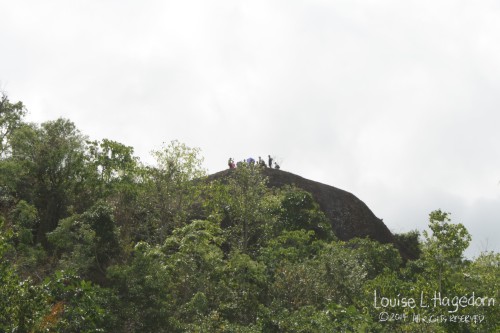
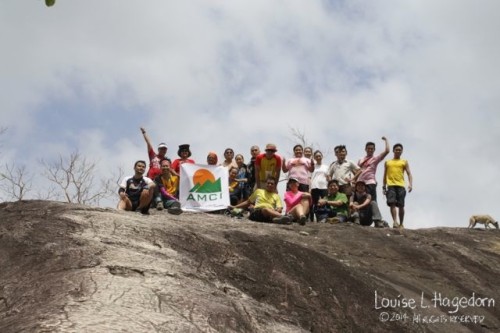
Since we were slow, most of the group had already reached the summit. Here they are cheering us onwards.
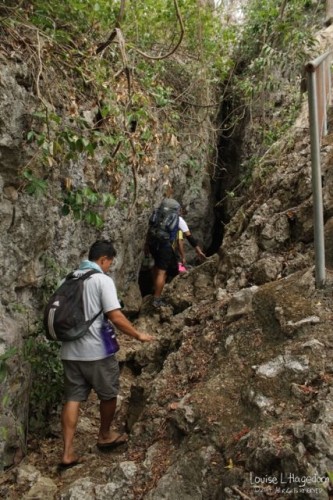
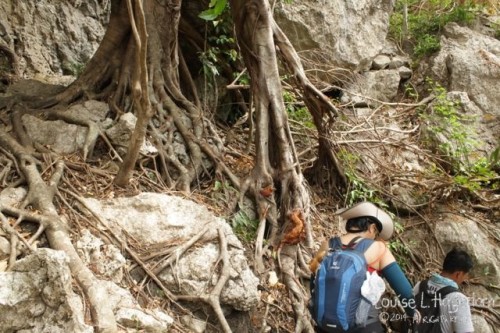
The trail will take you up. There are parts where it can be difficult if you’ve never climbed before and you have to be careful. I slammed my knee into the rock face and it really hurt. I think I need knee pads next time. Just keep at a pace that keeps you comfortable, aware of what you’re doing, and know where you plant your feet and knees.
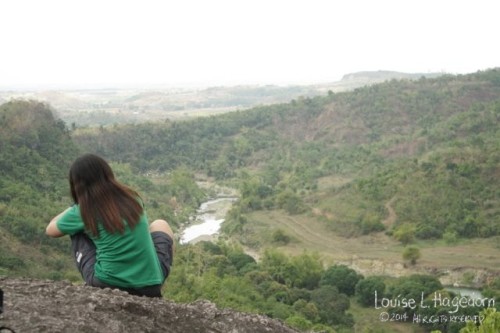
Mt. Manalmon has an “almost there” vista on one of its sides. We took a break there. It almost felt like the summit though.

There’s a campsite right before the summit that some people will use. I think it’s pretty cool that the mountain has a protected space people can use to camp near the top.
After the campsite, you go up a boulder.
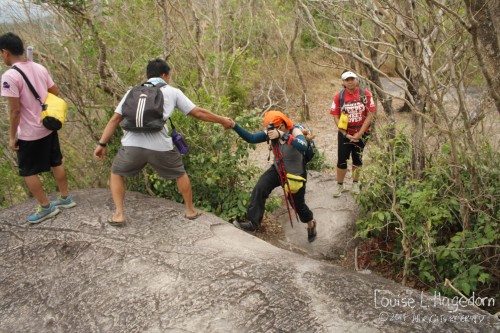

The incline is steep, but not impossibly so. There is enough room around you to feel comfortable going up. It’s a matter of being careful.
Our guide Lean was kind enough to take the group shots for us.
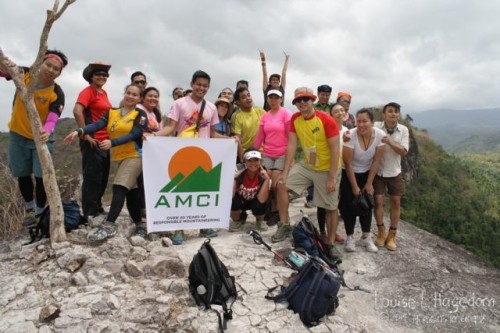
The views are worth the climb!


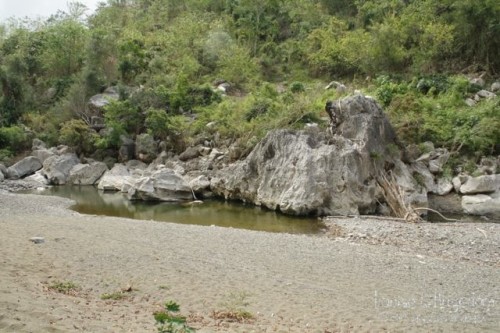
After the picture taking, we took the easier trail down to the river. The rest of the group, being more experienced, took the more difficult trail. The river is where we had lunch, relaxed, and swam. The water was just the right amount of cold to cool off after a hike.
To go back, there’s a quick trail straight to Madlum Cave. Near the DENR station, there’s a store that sells qwek-qwek (hard boiled eggs dipped in batter then fried) with sweet sauce or vinegar, vegetable balls (made with squash, and other things I didn’t quite catch), and halo-halo. There is a toilet and wash up area you can use there also.
At this point, we decided to split off from the group and head home. Since I banged my knee, Guide Lean recommended not doing the cave today, as it would be hard with an injury. Most of the group decided to go on to Bayukbok Cave. We will definitely go back to do it!
For those who need to know, the Bayukbok Cave entrance is near where you parked your vehicle. You take the balsa or monkey bridge across the river, drop off your gear in the vehicle, take your headlamp and go on to the cave. There is a PHP40.00 (approximately USD1.00) fee per person for the cave.
Thanks to AMCI for organizing this open climb. It was lots of fun!